Microsoft Azure Bicep Getting Started
Azure Bicep Getting Started
On previous post we cover the general introduction to Azure Bicep.
Installation
You can install bicep by using extension for az cli
az bicep install
if you do not have az cli, it can be installed from PowerShell using Administrative permission
$ProgressPreference = 'SilentlyContinue'; Invoke-WebRequest -Uri https://aka.ms/installazurecliwindows -OutFile .\AzureCLI.msi; Start-Process msiexec.exe -Wait -ArgumentList '/I AzureCLI.msi /quiet'; rm .\AzureCLI.msi
First bicep file
After successful installation installation of az bicep, let create our first “bicep” file.
@description('Storage Account type')
@allowed([
  'Premium_LRS'
  'Premium_ZRS'
  'Standard_GRS'
  'Standard_GZRS'
  'Standard_LRS'
  'Standard_RAGRS'
  'Standard_RAGZRS'
  'Standard_ZRS'
])
param storageAccountType string = 'Standard_LRS'

@description('Location for the storage account.')
param location string = resourceGroup().location

@description('The name of the Storage Account')
param storageAccountName string = 'store${uniqueString(resourceGroup().id)}'

resource sa 'Microsoft.Storage/storageAccounts@2021-06-01' = {
  name: storageAccountName
  location: location
  sku: {
    name: storageAccountType
  }
  kind: 'StorageV2'
  properties: {}
}

output storageAccountName string = storageAccountName
output storageAccountId string = sa.id
After creating bicep file, let create Resource Group in Europe west location
az group create -l westeurope -n bicep-rg
az deployment group create -f ./main.bicep -g bicep-rg
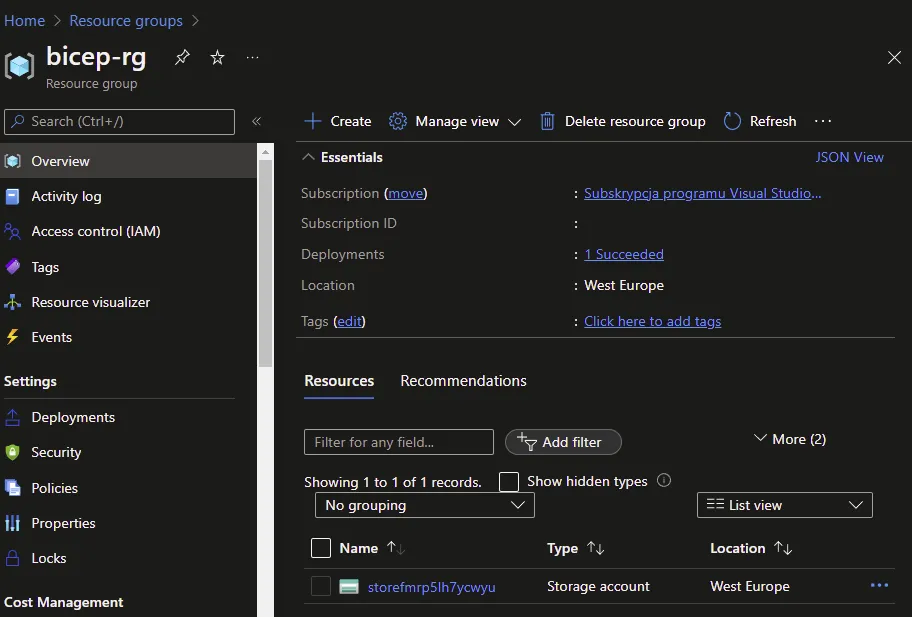
will create deployment group using file “main.bicep” in resource group “bicep-rg” and we suppose to se result in Azure Portal
Clean up
Let now create after out self and remove created resource group
az group delete -n bicep-rg


Comments